皆さん、こんにちは。管理人です。今回はシリーズ「Laravel で電子掲示板を作ろう」の第 9 回目となります。
記事に画像を載せることができるようにする
それでは、記事に画像を載せることができるようにしていきたいと思います。まずは、resources/views/create.blade.php に 4 行を追加して次のようにして下さい。
<x-app-layout>
    <x-slot name="title">新しい記事の作成</x-slot>

    <x-slot name="header">
        <h2 class="font-semibold text-xl text-gray-800 leading-tight">
            新しい記事の作成
        </h2>
    </x-slot>

    <div class="py-12">
        <div class="max-w-2xl px-6 lg:px-8">
            <form class="grid grid-cols-1 gap-6" method='POST' action="{{ route('store') }}" enctype="multipart/form-data">
                @csrf
                <label class="block">
                    <span class="text-gray-700">タイトル</span>
                    <input name="title" type="text" class="mt-1 block w-full rounded-md shadow-sm">
                </label>
                <label class="block">
                    <span class="text-gray-700">画像</span>
                    <input type="file" class="block" name='image' id="image">
                </label>
                <label class="block">
                    <span class="text-gray-700">内容</span>
                    <textarea id="markdown-editor" class="block w-full mt-1 rounded-md" name="content" rows="5"></textarea>
                </label>
                <button type='submit' class="w-20 bg-blue-600 hover:bg-blue-500 text-white rounded px-4 py-2">投稿</button>
            </form>
        </div>
    </div>
</x-app-layout>
さて、ここで、データベースの posts テーブルに画像の url を保存する列を追加したいと思いますので、新しいターミナルを開いて、
php artisan make:migration add_image_url_to_posts_table --table=postsを実行します。これで、database/migrations/yyyy_MM_dd_******_add_image_url_to_posts_table.php というファイル(のひな形)が生成されます。そうしましたら、このファイルを次のように編集します。
<?php

use Illuminate\Database\Migrations\Migration;
use Illuminate\Database\Schema\Blueprint;
use Illuminate\Support\Facades\Schema;

return new class extends Migration
{
    /**
     * Run the migrations.
     *
     * @return void
     */
    public function up()
    {
        Schema::table('posts', function (Blueprint $table) {
            $table->string('image_url')->after('content')->nullable();
        });
    }

    /**
     * Reverse the migrations.
     *
     * @return void
     */
    public function down()
    {
        Schema::table('posts', function (Blueprint $table) {
            $table->dropColumn('image_url');
        });
    }
};
そうしましたら、
php artisan migrateをターミナルで実行して下さい。phpMyAdmin をブラウザで開いて、データベースの posts テーブルに新たに image_url というカラムができていれば成功です。
続いて、app/Http/Controllers/PostController.php を次のように編集します。
<?php

namespace App\Http\Controllers;

use Illuminate\Http\Request;
use App\Models\Post;
use Auth;
use Storage;

class PostController extends Controller
{
    public function index()
    {
        $posts = Post::latest('updated_at')->get();
        return view('welcome', compact('posts'));
    }

    public function store(Request $request)
    {
        $data = $request->all(); // フォームで送信されたデータをすべてとってきます
        $image = $request->file('image');

        if($request->hasFile('image')){
            $path = Storage::put('/public', $image); // 画像は public ディレクトリに保存します
            $image_url = Storage::url($path);
        }else{
            $image_url = null;
        }

        $post_id = Post::insertGetId([
            'user_id' => Auth::id(), // ログイン中のユーザーの ID を格納します
            'title' => $data['title'], // 入力された文字列を格納します
            'content' => $data['content'], // 入力された文字列を格納します
            'image_url' => $image_url,
        ]);

        return redirect()->route('post', compact('post_id'));
    }

(以下略)
そうしましたら、resources/views/post.blade.php を次のように編集します。
<x-guest-layout>
    <x-slot name="title">{{ $post['title'] }}</x-slot>

    <h1>{{ $post['title'] }}</h1>

    <div class="bg-orange-300 font-bold p-3 mb-8">
        著  者:{{ $post->user->name }}<br>
        <time datetime="{{ $post['created_at'] }}" itemprop="datepublished">
            作  成:{{ (new DateTime($post['created_at']))->format("Y年m月d日") }}<br>
        </time>
        <time datetime="{{ $post['updated_at'] }}" itemprop="modified">
            最終更新:{{ (new DateTime($post['updated_at']))->format("Y年m月d日") }}
        </time>
    </div>

    @if (isset($post['image_url']))
        <div><img src="{{ $post['image_url'] }}" alt="画像が見つかりません"></div>
    @endif

    <div class="not-prose">
        <pre class="whitespace-pre-wrap">{{ $post['content'] }}</pre>
    </div>
(以下略)
そうしましたら、ターミナルで
php artisan storage:linkを実行してシンボリックリンクを貼って下さい。(シンボリックリンクについての詳しい説明はここでは省くことにします。気になる方は Google で「laravel シンボリックリンク」あるいは「シンボリックリンク」などと入力して検索して下さい。)
では、ブラウザで Web アプリにアクセスしてログインして下さい。そして「新しい記事の作成」をクリックします。
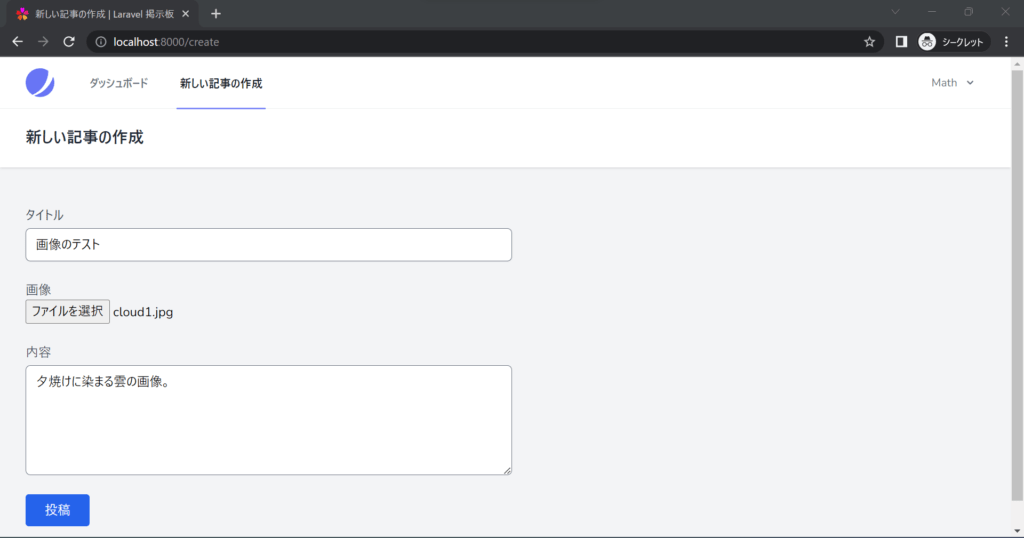
そうしましたら、投稿ボタンをクリックしてみましょう。


コメント