皆さん、こんにちは。管理人です。このシリーズ「Laravel で電子掲示板を作ろう」では、その名の通り、Laravel を用いて電子掲示板を作っていこうと思っています。今回は第4回目となります。
ロゴのリンク先の変更
まず、(お好みにもよりますが)ダッシュボードの画面においてロゴをクリックすると index に飛ぶようにしたいので、resources/views/navigation-menu.blade.php の8行目を次のように編集して下さい。
<nav x-data="{ open: false }" class="bg-white border-b border-gray-100">
    <!-- Primary Navigation Menu -->
    <div class="max-w-7xl mx-auto px-4 sm:px-6 lg:px-8">
        <div class="flex justify-between h-16">
            <div class="flex">
                <!-- Logo -->
                <div class="shrink-0 flex items-center">
                    <a href="{{ route('index') }}">
                        <x-jet-application-mark class="block h-9 w-auto" />
                    </a>
                </div>
            (以下略)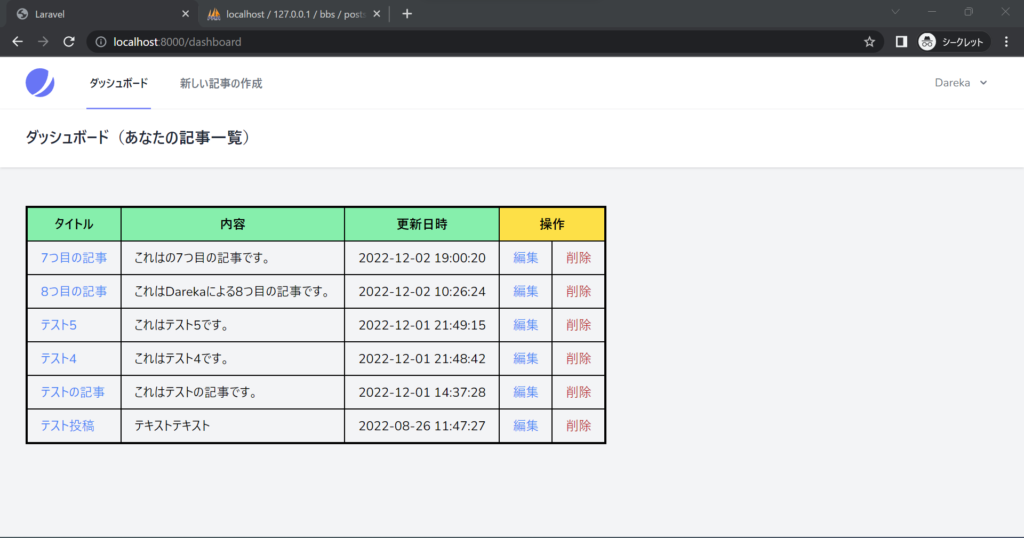
記事へのコメントをデータベースに格納する
次に、ログイン中のユーザーが任意の記事にコメントをつけられるようにしていきたいと思います。そのために、まずは Comment というモデルとマイグレーションファイルを作成します。ターミナルで次のコマンドを実行して下さい。
php artisan make:model Comment --migrationすると、app/Models/Comment.php というファイルと database/migrations/yyyy_MM_dd_******_create_comments_table.php というファイルが生成されます。
そうしましたら、マイグレーションファイルを次のようにしてください。
<?php

use Illuminate\Database\Migrations\Migration;
use Illuminate\Database\Schema\Blueprint;
use Illuminate\Support\Facades\Schema;

return new class extends Migration
{
    /**
     * Run the migrations.
     *
     * @return void
     */
    public function up()
    {
        Schema::create('comments', function (Blueprint $table) {
            $table->id();
            $table->unsignedBigInteger('post_id');
            $table->foreign('post_id')->references('id')->on('posts')->onDelete('cascade'); // 外部キー制約
            $table->unsignedBigInteger('user_id');
            $table->foreign('user_id')->references('id')->on('users')->onDelete('cascade'); // 外部キー制約
            $table->text('content');
            $table->timestamp('created_at')->default(DB::raw('CURRENT_TIMESTAMP'));
            $table->timestamp('updated_at')->default(DB::raw('CURRENT_TIMESTAMP on update CURRENT_TIMESTAMP'));
        });
    }

    /**
     * Reverse the migrations.
     *
     * @return void
     */
    public function down()
    {
        Schema::dropIfExists('comments');
    }
};
そうしましたら、ターミナルで
php artisan migrateを実行して下さい。データベースに comments テーブルができるはずです。
次に、routes/web.php に二行を追加して次のようにします。
<?php

use Illuminate\Support\Facades\Route;
use App\Http\Controllers\PostController;
use App\Http\Controllers\CommentController; // 追記

/*
|--------------------------------------------------------------------------
| Web Routes
|--------------------------------------------------------------------------
|
| Here is where you can register web routes for your application. These
| routes are loaded by the RouteServiceProvider within a group which
| contains the "web" middleware group. Now create something great!
|
*/

Route::get('/', [PostController::class, 'index'])->name('index');
Route::get('/post/{post_id}', [PostController::class, 'post'])->name('post');

Route::middleware([
    'auth:sanctum',
    config('jetstream.auth_session'),
    'verified'
])->group(function () {
    Route::get('/dashboard', [PostController::class, 'show'])->name('dashboard');
    Route::get('/create', function () {
        return view('create');
    })->name('create');
    Route::post('/store', [PostController::class, 'store'])->name('store');
    Route::get('/edit/{post_id}', [PostController::class, 'edit'])->name('edit');
    Route::post('/update/{post_id}', [PostController::class, 'update'])->name('update');
    Route::post('/delete/{post_id}', [PostController::class, 'delete'])->name('delete');
    Route::post('/store_comment', [CommentController::class, 'store'])->name('store_comment'); // 追記
});
そうしましたら、次に CommentController を作成しようと思いますので、ターミナルで
php artisan make:controller CommentControllerを実行して下さい。app/Http/Controllers/CommentController.php が作成されます。
そうしましたら、CommentController を次のようにして下さい。
<?php

namespace App\Http\Controllers;

use Illuminate\Http\Request;
use Auth; // 追記
use App\Models\Comment; // 追記

class CommentController extends Controller
{
    /**
     * このアクションを追加
     */
    public function store(Request $request)
    {
        $data = $request->all();
        $post_id = $data['post_id'];

        Comment::insertGetID([
            'content' => $data['content'],
            'post_id' => $post_id,
            'user_id' => Auth::id(),
        ]);

        return redirect()->route('post', compact('post_id'));
    }
}
次に、resources/views/post.blade.php を次のように編集します。
<x-guest-layout>
<h1>{{ $post['title'] }}</h1>
<p>{{ $post['content'] }}</p>
@auth
<h2>コメントを投稿する</h2>
<form class="grid grid-cols-1 gap-6 text-black" method='POST' action="{{ route('store_comment') }}" enctype="multipart/form-data">
@csrf
<input type='hidden' name='post_id' value="{{ $post['id'] }}">
<label class="block">
<textarea name='content'
class="mt-1 block w-full rounded-md border-gray-300 shadow-sm focus:border-indigo-300 focus:ring focus:ring-indigo-200 focus:ring-opacity-50"
rows="3"></textarea>
</label>
<button type='submit' class="w-20 bg-blue-600 hover:bg-blue-500 text-white rounded px-4 py-2">投稿</button>
</form>
@else
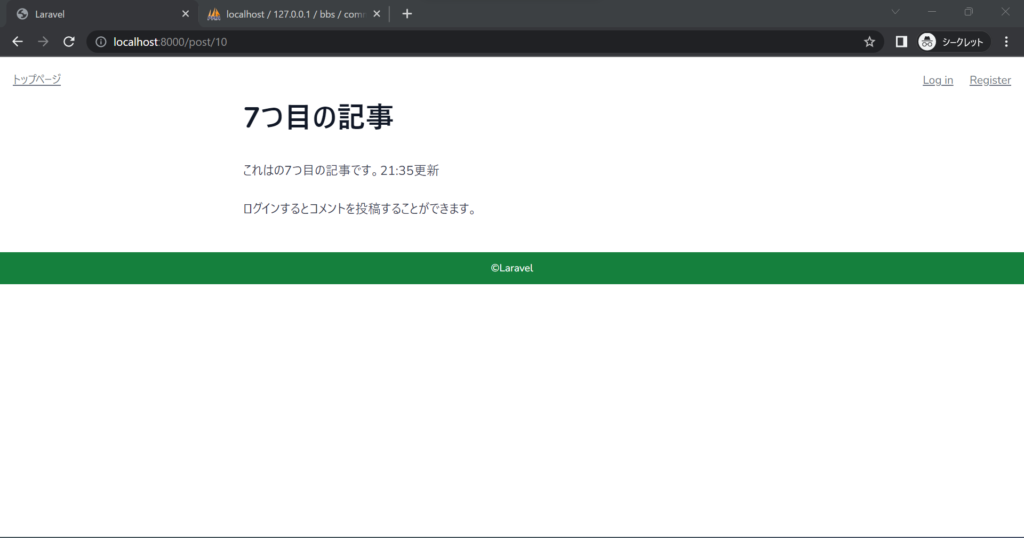
<p>ログインするとコメントを投稿することができます。</p>
@endauth
</x-guest-layout>上のコードについて少し補足をしますと、ログインしているときには @auth と @else の間にあるコードが出力され、ログアウトしているときには @else と @endauth の間にあるコードが出力されます。


特定の記事についたコメントの一覧を表示する
次に、記事についたコメントを下のほうに表示させたいと思います。一般に、ひとつの記事には複数のコメントがつきますが(hasMany)、ひとつのコメントはひとつの記事につく(belongsTo)ことになります。これを一対多の関係といいます。この関係を記述しておきたいので、app/Models/Post.php と app/Models/Comment.php を次のようにします。
<?php

namespace App\Models;

use Illuminate\Database\Eloquent\Factories\HasFactory;
use Illuminate\Database\Eloquent\Model;
use App\Models\Comment;

class Post extends Model
{
    use HasFactory;

    public function comments()
    {
        return $this->hasMany(Comment::class);
    }
}
<?php

namespace App\Models;

use Illuminate\Database\Eloquent\Factories\HasFactory;
use Illuminate\Database\Eloquent\Model;
use App\Models\Post;

class Comment extends Model
{
    use HasFactory;

    public function post()
    {
        return $this->belongsTo(Post::class);
    }
}
続いて、PostController の post アクションの中身を修正して次のようにします。
<?php

namespace App\Http\Controllers;

use Illuminate\Http\Request;
use App\Models\Post;
use Auth;

class PostController extends Controller
{
    public function index()
    {
        $posts = Post::latest('updated_at')->get();
        return view('welcome', compact('posts'));
    }

    public function store(Request $request)
    {
        $data = $request->all(); // フォームで送信されたデータをすべてとってきます

        $post_id = Post::insertGetId([
            'user_id' => Auth::id(), // ログイン中のユーザーの ID を格納します
            'title' => $data['title'], // 入力された文字列を格納します
            'content' => $data['content'], // 入力された文字列を格納します
        ]);

        return redirect()->route('post', compact('post_id'));
    }

    public function post($post_id)
    {
        $post = Post::where('id', $post_id)->first();
        if (is_null($post)) {
            abort(404);
        }

        $comments = $post->comments()->get(); // 追記
        return view('post', compact('post', 'comments')); // 修正後
    }

    public function show()
    {
        $posts = Post::where('user_id', Auth::id())->latest('updated_at')->get();
        return view('dashboard', compact('posts'));
    }

    public function edit($post_id)
    {
        $post = Post::where('id', $post_id)
                    ->where('user_id', Auth::id()) // ログイン中のユーザーが編集しようとしていることを確認
                    ->first();

        return view('edit', compact('post'));
    }

    public function update(Request $request, $post_id)
    {
        $data = $request->all();

        $query = Post::where('id', $post_id)->where('user_id', Auth::id());

        // ログイン中のユーザーが記事を更新しようとしていることを確認
        if ($query->exists()) {
            $query->update(['title' => $data['title'],
                            'content' => $data['content']]);
            return redirect()->route('post', compact('post_id')); // 該当の記事にリダイレクト
        } else {
            abort(500); // サーバーエラー
        }
    }

    public function delete($post_id)
    {
        $query = Post::where('id', $post_id)->where('user_id', Auth::id());

        // ログイン中のユーザーが記事を削除しようとしていることを確認
        if ($query->exists()) {
            Post::destroy($post_id);
            return redirect()->route('dashboard');
        } else {
            abort(500); // サーバーエラー
        }
    }
}
そして、resources/views/post.blade.php を次のように編集します。
<x-guest-layout>
<h1>{{ $post['title'] }}</h1>
<p>{{ $post['content'] }}</p>
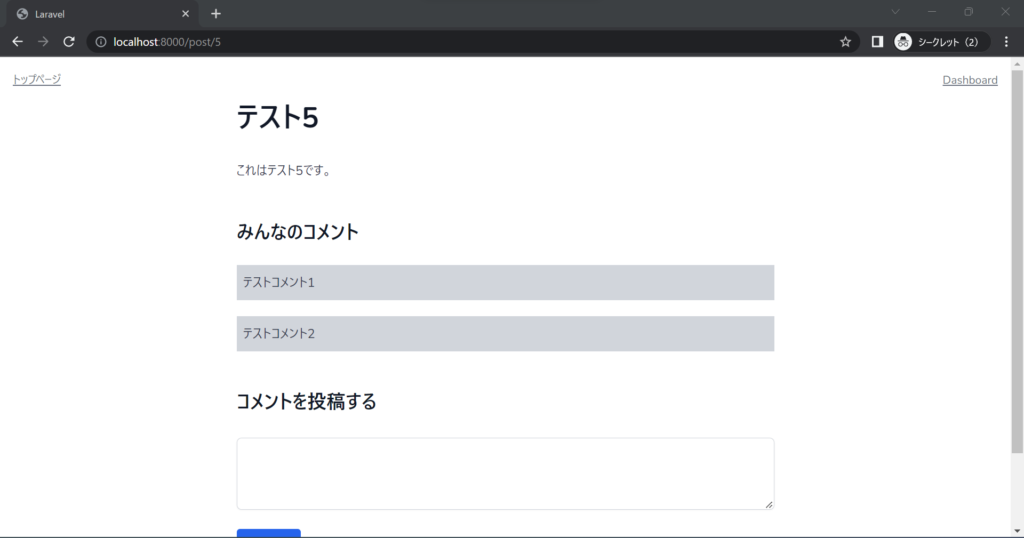
<h2>みんなのコメント</h2>
@forelse ($comments as $comment)
<p class="bg-gray-300 p-2">{{ $comment['content'] }}</p>
@empty
<p>コメントはまだありません。</p>
@endforelse
@auth
<h2>コメントを投稿する</h2>
<form class="grid grid-cols-1 gap-6 text-black" method='POST' action="{{ route('store_comment') }}" enctype="multipart/form-data">
@csrf
<input type='hidden' name='post_id' value="{{ $post['id'] }}">
<label class="block">
<textarea name='content'
class="mt-1 block w-full rounded-md border-gray-300 shadow-sm focus:border-indigo-300 focus:ring focus:ring-indigo-200 focus:ring-opacity-50"
rows="3"></textarea>
</label>
<button type='submit' class="w-20 bg-blue-600 hover:bg-blue-500 text-white rounded px-4 py-2">投稿</button>
</form>
@else
<p>ログインするとコメントを投稿することができます。</p>
@endauth
</x-guest-layout>ここで @forelse, @empty, @endforelse という記述が出てきました。これは、配列 $comments に要素が1つ以上入っている場合は(@foreach と同様に)それらの要素が順番に $comment に代入され、@forelse と @empty の間にある
<p class="bg-gray-300 p-2">{{ $comment['content'] }}</p>という行が(繰り返し)出力されます。反対に、配列 $comments に要素が1つも入っていない場合は、@empty と @endforelse の間にある
<p>コメントはまだありません。</p>という行が出力されます。

コメント